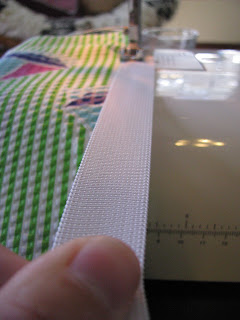
Start out with the materials. For this skirt I used only fabric and elastic.
The next step was to measure and hem. I wanted a skirt that would fall a little bit above my knees and wanted it to have some "breathing room" (aka I didn't want it to hug my curves). You can make your own modifications to how much fabric you use depending on how you want your skirt to fit. Making the skirt itself was relatively easy. I simply wrapped the amount of fabric I wanted around me to measure, cut it, and then hemmed the rough edges. The hard part was putting the elastic on. First you have to measure how much elastic you want by stretching it around your waist (or hips...or wherever you want the skirt to sit on your body). Then you have to stretch the elastic while sewing it onto your piece of material to create the bunching effect.
Next I just sewed a seam up the back connecting so that I would have my skirt!
I decided that this skirt would be prefect if it had pockets. So I added some pockets. First I cut out the shape.
Then I stitched the fabric together (right sides of the fabric together) using first a straight stitch and then a zig zag so that I wouldn't have any holes.
I then laid out my skirt and approximated where on the skirt I wanted to sew the pockets and pinned them to the skirt.
The next part was kind of tricky. I cut a slit along where I wanted my pocket to be, making sure that the slit was slightly smaller than my pocket.
Then I hand stitched the pockets from the inside. Sorry I forgot to take pictures of that step. Anyway, Here is my finished project for a grand total of $3.50!
And there you have it! I know I still have some work to do on my tutorial skills and making sure I take pictures of each step...I'll get there.
p.s. Sorry I took a month to post this!


